Easy Homemade Bread Recipe- Simple & Delicious
Homemade bread is more than just a recipe; it’s a sensory experience that fills your kitchen with an aroma so comforting, it feels like a warm hug. There’s a primal satisfaction in taking simple ingredients – flour, water, yeast, and salt – and transforming them into a loaf that is both beautiful and delicious. People are drawn to homemade bread for its unparalleled freshness, its delightful chew, and the sheer joy of knowing exactly what goes into it. Forget the bland, mass-produced loaves; this is bread with character, with soul. The subtle tang of a slow fermentation, the crackle of a perfectly crisp crust, the pillowy softness of the interior – these are the qualities that make homemade bread truly special. It’s an act of love, a way to nourish ourselves and our loved ones, and a wonderfully rewarding kitchen adventure. Get ready to discover the magic of baking your very own spectacular homemade bread.
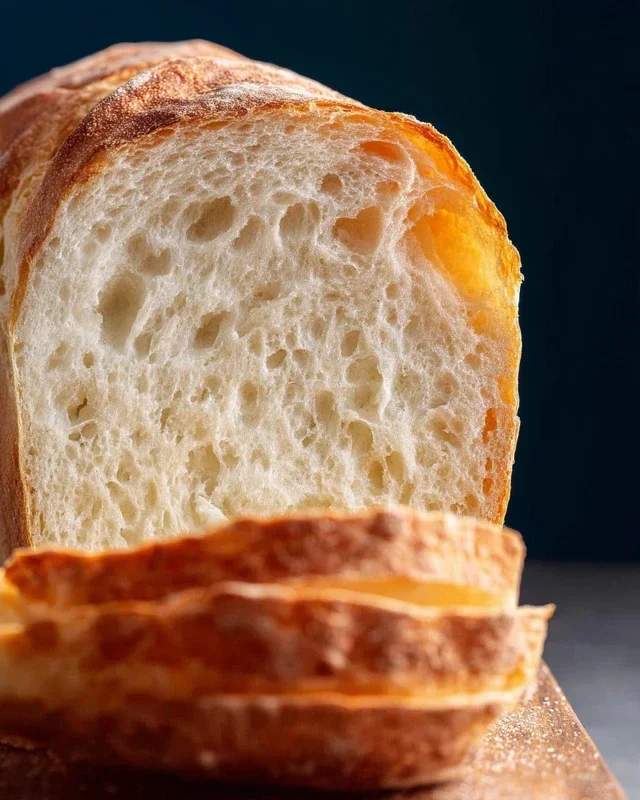
Homemade Bread
There’s a unique magic that happens when you combine simple ingredients like flour, water, yeast, and salt, and transform them into a warm, crusty loaf of homemade bread. The aroma that fills your kitchen as it bakes is unparalleled, a comforting promise of deliciousness. While store-bought bread is convenient, there’s an undeniable satisfaction, and frankly, a superior flavor and texture, that comes from baking your own. This recipe is a fantastic starting point for anyone looking to embark on their bread-making journey, or a reliable go-to for seasoned bakers. Don’t be intimidated; with a little patience and this guide, you’ll be pulling beautiful loaves out of your oven in no time.
Ingredients:
Instructions:
Phase 1: Activating the Yeast and Mixing the Dough
1. In a large mixing bowl, combine the warm water and your chosen sweetener (honey or sugar). The water temperature is crucial here. If it’s too hot, it will kill the yeast; too cold, and it won’t activate properly. Aim for that sweet spot between 105 and 115 degrees Fahrenheit, which usually feels pleasantly warm to the touch. Sprinkle the active dry yeast over the surface of the water. Give it a gentle stir, then let it sit for about 5-10 minutes. You’ll know the yeast is alive and kicking when it starts to foam and bubble, looking like a thick, frothy layer on top. This process is called “proofing” and ensures your bread will rise beautifully. If it doesn’t foam, your yeast is likely old or the water temperature was off, and you’ll need to start again with fresh yeast.
2. Once the yeast is active, add the salt and oil to the bowl. Stir these in to combine. Now it’s time to add the flour. Start by adding 4 cups of the all-purpose or bread flour. If you have bread flour available, I highly recommend using it for a chewier texture and better rise, as it contains more gluten. You’ll want to mix this until a shaggy dough begin extracts to form. I usually start by stirring with a wooden spoon and then switch to my hands as the dough becomes too stiff for the spoon.
Phase 2: Kneading the Dough
3. Turn the dough out onto a lightly floured surface. This is where the magic of kneading comes in! Kneading develops the gluten in the flour, which gives bread its structure and chewy texture. Start by pushing the dough away from you with the heel of your hand, then fold it back towards you. Rotate the dough a quarter turn and repeat. Continue this process for about 8-10 minutes. You’re looking for a dough that is smooth, elastic, and no longer sticky. If the dough is still too sticky to handle, gradually add more flour, one tablespoon at a time, until it reaches the right consistency. Be careful not to add too much flour, as this can result in a dense, dry loaf. The dough should feel soft and pliable, and when you poke it with a finger, the indentation should spring back slowly.
Phase 3: First Rise (Proofing)
4. Lightly grease a clean bowl with a little oil. Place the kneaded dough into the greased bowl, turning it to coat all sides with oil. This prevents a dry skin from forming on the dough. Cover the bowl tightly with plastic wrap or a clean kitchen towel. Find a warm, draft-free spot for the dough to rise. This could be a slightly warm oven (turned off!), a sunny windowsill, or simply on your kitchen counter if your kitchen is warm. Let the dough rise for 1 to 1.5 hours, or until it has doubled in size. This first rise is called “proofing” and allows the yeast to work its magic, creating those lovely air pockets that give bread its airy texture.
Phase 4: Shaping and Second Rise
5. Once the dough has doubled in size, gently punch it down to release the air. Turn the dough out onto a lightly floured surface again and shape it into your desired loaf. You can create a round boule, an oblong loaf, or even divide it into rolls. For a classic loaf, gently shape it into an oblong form and place it into a greased loaf pan, or directly onto a baking sheet lined with parchment paper if you’re making a freeform loaf. Cover the shaped dough loosely with plastic wrap or a clean kitchen towel and let it rise for another 30-45 minutes, or until it has visibly puffed up. This second rise is important for achieving a light and airy crum extractb.
Phase 5: Baking the Bread
6. Preheat your oven to 375 degrees Fahrenheit (190 degrees Celsius). If you’re baking a freeform loaf on a baking sheet, you can create a steamy environment in the oven for a crispier crust. To do this, place a shallow pan filled with hot water on the bottom rack of your oven before preheating. Once the dough has completed its second rise, it’s ready to bake. Carefully place the loaf pan or baking sheet into the preheated oven. Bake for 30-40 minutes for a standard loaf, or until the crust is a deep golden brown and the internal temperature reaches around 200-210 degrees Fahrenheit (93-99 degrees Celsius) when tested with an instant-read thermometer. You can also tap the bottom of the loaf; it should sound hollow.
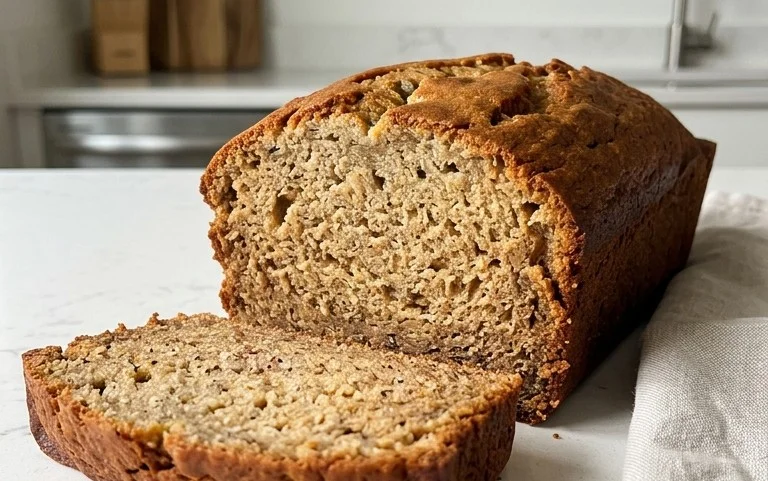
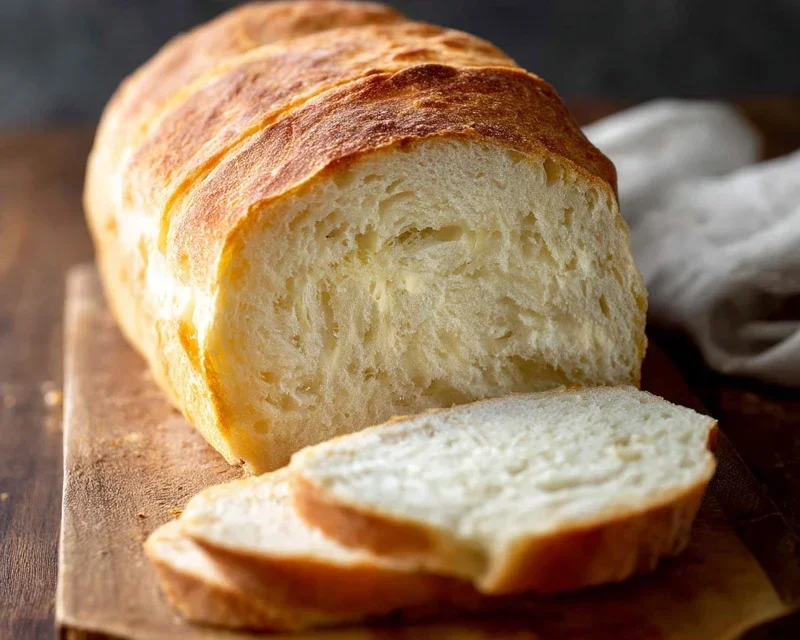
7. Once baked, remove the bread from the oven and immediately transfer it from the loaf pan to a wire cooling rack. This prevents the bottom crust from becoming soggy. Resist the urge to slice into it immediately! Letting the bread cool completely (at least 1-2 hours) allows the internal structure to set properly, resulting in a better texture and flavor. The aroma alone is worth the wait! Enjoy your delicious homemade bread, spread with butter, used for sandwiches, or simply savored on its own.
Conclusion:
You’ve now got the knowledge to create your very own homemade bread, a truly rewarding endeavor! This recipe is fantastic because it demystifies the bread-making process, proving that delicious, crusty loaves are well within your reach. The satisfaction of pulling a warm, fragrant loaf from your oven, knowing you made it yourself, is unparalleled. Imagin extracte slathering it with butter, dipping it into your favorite soup, or using it as the base for incredible sandwiches. The possibilities are endless! Don’t be afraid to experiment with variations. Consider adding herbs like rosemary or thyme, incorporating seeds for extra texture, or even stirring in a handful of cheese for a savory twist. This simple yet profoundly satisfying journey into baking is one I wholeheartedly encourage you to embark on. Take that first step, embrace the process, and discover the joy of truly fresh, homemade bread.
Frequently Asked Questions:
Q1: My bread didn’t rise as much as I expected. What could be the reason?
Several factors can affect bread rise. Ensure your yeast is active by proofing it in warm water with a pinch of sugar before adding it to your dough. Make sure your rising environment is warm enough (around 75-80°F or 24-27°C) – a slightly warm oven (turned off!) or a sunny spot can work wonders. Over-kneading or under-kneading can also impact rise, as can the freshness of your flour.
Q2: Can I make this homemade bread recipe gluten-free?
Adapting this recipe for gluten-free baking will require significant adjustments. You’ll need to substitute the wheat flour with a gluten-free blend and likely adjust the liquid content and potentially add binders like xanthan gum to achieve a similar texture. Gluten-free bread can be a different beast, but there are many excellent gluten-free bread recipes available that focus specifically on achieving a good crum extractb.
Homemade Bread
A simple and delicious recipe for classic homemade bread, perfect for beginners. Achieve a wonderfully soft crumb and a golden crust with these easy steps.
Ingredients
-
2 cups warm water (105-115 degrees Fahrenheit)
-
1 Tablespoon active dry yeast
-
1/4 cup honey
-
2 teaspoons salt
-
2 Tablespoons canola oil
-
4 – 5 1/2 cups all-purpose flour
Instructions
-
Step 1
In a large bowl, combine the warm water and honey. Sprinkle the yeast over the top and let it sit for 5-10 minutes until foamy. -
Step 2
Stir in the salt and oil. Gradually add the flour, 1 cup at a time, mixing until a shaggy dough forms. You may not need all the flour. -
Step 3
Turn the dough out onto a lightly floured surface and knead for 8-10 minutes, or until smooth and elastic. Add a little more flour if the dough is too sticky. -
Step 4
Place the dough in a lightly greased bowl, turning to coat. Cover with plastic wrap and let it rise in a warm place for 1 to 1.5 hours, or until doubled in size. -
Step 5
Punch down the dough and shape it into a loaf. Place it in a greased 9×5 inch loaf pan. -
Step 6
Cover the loaf pan and let the dough rise again for 30-45 minutes, or until nearly doubled. Preheat your oven to 375°F (190°C). -
Step 7
Bake for 30-35 minutes, or until the crust is golden brown and the internal temperature reaches 190-200°F (88-93°C). -
Step 8
Remove the bread from the pan and let it cool completely on a wire rack before slicing.
Important Information
Nutrition Facts (Per Serving)
It is important to consider this information as approximate and not to use it as definitive health advice.
Allergy Information
Please check ingredients for potential allergens and consult a health professional if in doubt.