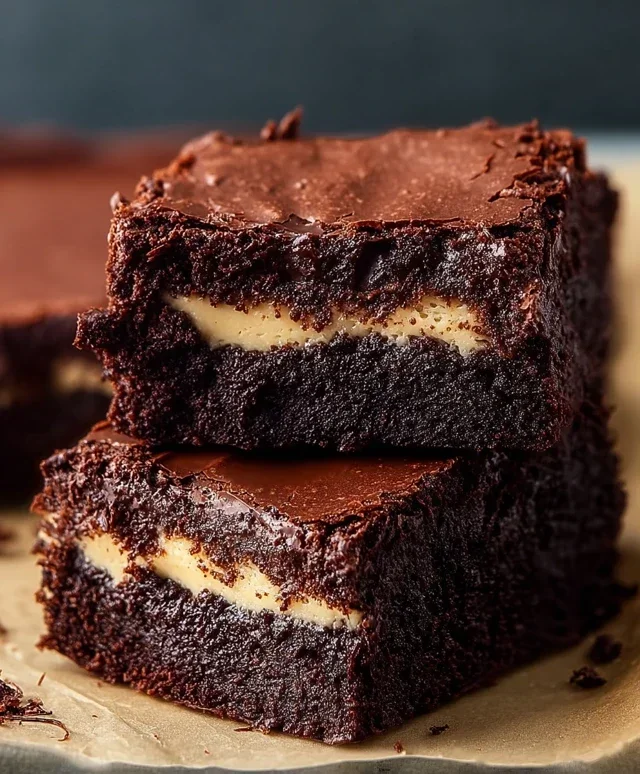
Milky Way Fudge Recipe- Easy Chocolate Candy Delight
Milky Way Fudge is the ultimate indulgence for any chocolate and caramel lover, and I’m so excited to share this recipe with you! If you’ve ever found yourself craving that perfect blend of rich chocolate, chewy caramel, and creamy nougat, then this homemade Milky Way Fudge is going to become your new obsession. There’s something undeniably magical about recreating those iconic candy bar flavors in a decadent, melt-in-your-mouth fudge. It’s the kind of treat that instantly transports you back to childhood, bringin extractg smiles and happy sighs with every bite. What makes this particular Milky Way Fudge so special is its incredible balance of textures and tastes – it’s not just sweet, it’s a symphony of complementary elements. Forget store-bought; this homemade version is so much better, and surprisingly simple to whip up for your next gathering or simply as a well-deserved personal treat.
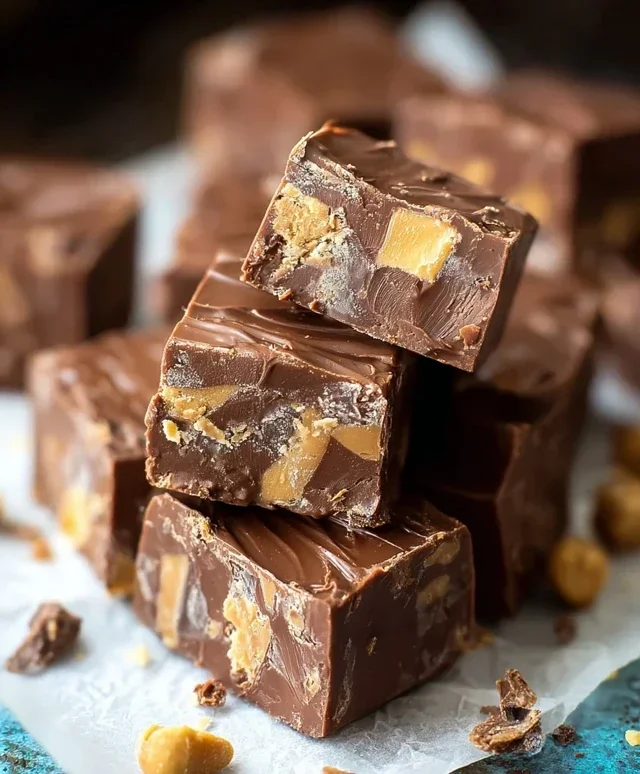
Milky Way Fudge
There are certain treats that just scream comfort and indulgence, and for me, Milky Way Fudge sits at the top of that list. Imagin extracte the rich, creamy sweetness of classic fudge, but with those irresistible caramel and nougat swirls that make a Milky Way bar so special. This recipe is surprisingly simple to make, making it perfect for a quick dessert fix or for impressing guests without spending hours in the kitchen. The combination of gooey caramel, chewy nougat, and decadent chocolate is truly a match made in heaven. I love making this for holidays, potlucks, or just because I’m craving something truly delicious. It’s also a fantastic gift idea, as homemade fudge is always appreciated.
Ingredients:
Instructions:
Preparing Your Workspace and Chocolate Base
The first step in creating this delightful fudge is to prepare your baking pan. I find that an 8×8 inch square baking pan works best for this recipe, giving us nice, thick squares of fudge. To ensure easy removal and clean-up, I always line my pan with parchment paper. I usually leave a little overhang on the sides, which acts as helpful handles when you’re ready to lift the fudge out. Next, we’ll start building the luscious chocolate base. In a medium, heavy-bottomed saucepan, combine the semi-sweet chocolate chips, sweetened condensed milk, and unsalted butter. A heavy-bottomed pan is crucial here to prevent the chocolate from scorching, which would be a culinary tragedy! Stir these ingredients gently over low heat. The key is to melt everything slowly and evenly. Resist the urge to crank up the heat; patience is your friend when working with chocolate. Keep stirring continuously, ensuring that the butter is fully melted and the chocolate chips are gradually dissolving into the mixture. You’ll notice the mixture starting to become smooth and glossy. This gentle melting process ensures a velvety texture for your fudge.
Melting and Combining the Chocolate Mixture
Continue to stir the chocolate mixture over low heat until it is completely smooth and all the chocolate chips and butter have melted. This might take about 5-8 minutes. Once it’s a uniform, glossy liquid, remove the saucepan from the heat. It’s important to take it off the heat promptly to avoid overheating the chocolate, which can make it seize or become grainy. At this point, stir in the vanilla extract. Vanilla enhances the chocolate flavor and adds a wonderful aroma. Give it a good, thorough stir to incorporate it evenly throughout the melted chocolate. This chocolatey goodness is the foundation of our Milky Way Fudge, and its smooth texture is what makes the fudge so melt-in-your-mouth delicious.
Incorporating the Milky Way Goodness
Now for the star of the show – the Milky Way bars! Once the chocolate mixture has been removed from the heat and the vanilla has been stirred in, it’s time to add the chopped Milky Way bars. Sprinkle the chopped pieces evenly over the surface of the hot chocolate mixture. Don’t stir them in just yet! Let them sit there for a minute or two. The residual heat from the chocolate mixture will start to soften the nougat and caramel within the Milky Way pieces, making them easier to fold in. After this short waiting period, gently fold the Milky Way pieces into the chocolate mixture using a spatula. You don’t want to overmix and completely pulverize the Milky Way pieces; we’re aiming for lovely pockets of gooey caramel and chewy nougat distributed throughout the fudge. Some larger chunks are perfectly fine and add a delightful texture. The goal is to distribute them as evenly as possible without overworking the mixture. This step is where the magic truly happens, transforming plain chocolate fudge into a decadent Milky Way experience.
Pouring and Setting the Fudge
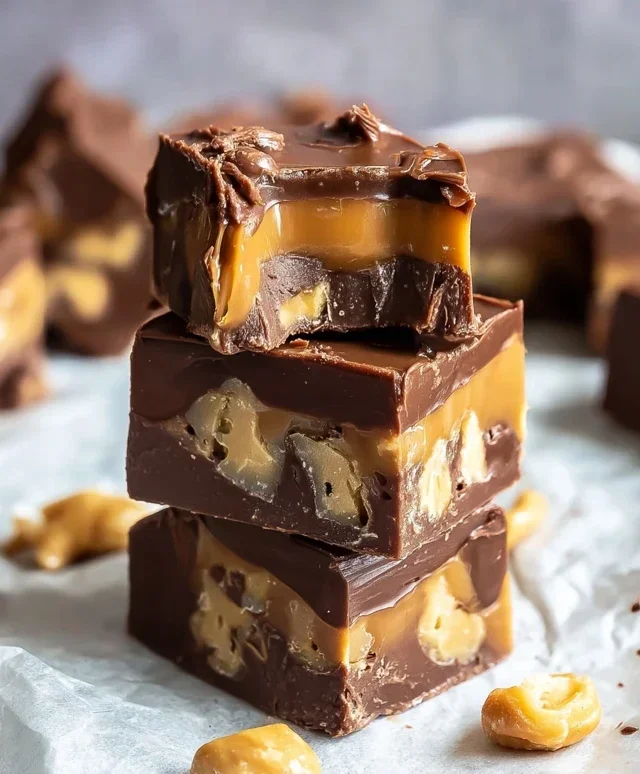
Once the Milky Way pieces are gently folded into the chocolate mixture, carefully pour the entire concoction into your prepared 8×8 inch baking pan. Use your spatula to spread the fudge evenly into the corners of the pan, ensuring a consistent thickness. For an extra touch of indulgence, if you’re using the caramel sauce, gently drizzle it over the top of the fudge. You can use a fork or a toothpick to swirl the caramel into the fudge for a marbled effect, or simply create a random pattern. This step is purely aesthetic but adds a beautiful visual appeal and an extra burst of caramel flavor. Once the fudge is spread and any optional caramel has been swirled in, you need to let it set. Place the pan in the refrigerator. This is the most challengin extractg part – waiting! Allow the fudge to chill in the refrigerator for at least 2-3 hours, or until it is firm to the touch. The cold air will solidify the fudge, making it easy to cut into neat squares. Resist the temptation to check on it too often; patience will be rewarded with perfectly set fudge.
Cutting and Enjoying Your Masterpiece
After the fudge has completely set, carefully lift it out of the pan using the parchment paper overhang. Place the slab of fudge onto a cutting board. Now comes the satisfying part of cutting your Milky Way Fudge into bite-sized pieces. I usually cut mine into 1-inch or 1.5-inch squares. For the cleanest cuts, it helps to use a sharp knife. You might want to wipe the knife clean between cuts, especially if the caramel is particularly gooey, to maintain neat edges. Arrange your beautiful, homemade Milky Way Fudge on a serving platter. These are best stored in an airtight container in the refrigerator to maintain their texture and freshness. They’ll keep for about a week, though I can assure you they rarely last that long! The combination of rich chocolate, sweet caramel, and chewy nougat in every bite is simply divine. Enjoy every delicious piece of this homemade delight!
Conclusion:
I hope you’ve enjoyed learning how to make this incredibly easy and unbelievably delicious Milky Way Fudge! This recipe truly shines because it delivers that signature candy bar flavor with minimal effort, making it perfect for busy bakers or anyone craving a quick, decadent treat. The combination of rich chocolate, creamy caramel, and crunchy nougat is simply irresistible. Whether you’re looking for a crowd-pleasing dessert for a party, a thoughtful homemade gift, or just a special indulgence for yourself, this Milky Way Fudge is a guaranteed winner. Don’t hesitate to get creative with the variations – I guarantee you’ll find a version you absolutely adore.
Now, let’s dive into some frequently asked questions to ensure your fudge-making journey is a smooth one!
Frequently Asked Questions:
Can I store this Milky Way Fudge for a long time?
Absolutely! Properly stored, this Milky Way Fudge can last for up to two weeks at room temperature in an airtight container. For longer storage, you can refrigerate it for up to a month, or even freeze it for up to three months. Just make sure to wrap it well to prevent freezer burn.
What are some other fun variations I can try?
The possibilities are endless! You could try adding a sprinkle of sea salt on top just before it sets for a delightful sweet and salty contrast. For an extra layer of flavor, consider folding in some chopped peanuts or even a handful of miniature chocolate chips along with the Milky Way pieces. You could also experiment with different types of chocolate – dark chocolate or even a swirl of white chocolate could add an exciting new dimension.
My fudge seems a little too soft. What did I do wrong?
Don’t worry, this can happen! Often, a fudge that’s too soft means it didn’t reach the correct temperature during the cooking process. Fudge relies on precise temperature to achieve its firm texture. If it’s consistently too soft, you might want to ensure your candy thermometer is accurate or try cooking it for a few minutes longer, stirring constantly, until it reaches the soft-ball stage. Letting it cool completely in the pan before cutting is also crucial for achieving that perfect set.
Milky Way Fudge
Rich and decadent fudge loaded with chopped Milky Way bars and a swirl of caramel.
Ingredients
-
3 cups semi-sweet chocolate chips
-
1 (14 oz) can sweetened condensed milk
-
1/4 cup unsalted butter
-
1 tsp vanilla extract
-
4 regular Milky Way bars, chopped
-
1/4 cup caramel sauce, for drizzling (optional)
Instructions
-
Step 1
Line an 8×8 inch baking pan with parchment paper, leaving an overhang on the sides. -
Step 2
In a large microwave-safe bowl, combine the semi-sweet chocolate chips, sweetened condensed milk, and unsalted butter. -
Step 3
Microwave on high in 30-second intervals, stirring well after each, until the mixture is smooth and melted. This should take about 2-3 minutes total. -
Step 4
Stir in the vanilla extract until well combined. -
Step 5
Gently fold in the chopped Milky Way bars. -
Step 6
Pour the fudge mixture into the prepared baking pan and spread evenly. -
Step 7
If using, drizzle the caramel sauce over the top and swirl it lightly with a knife or toothpick. -
Step 8
Refrigerate for at least 2-3 hours, or until firm. -
Step 9
Lift the fudge out of the pan using the parchment paper overhang. Cut into small squares to serve.
Important Information
Nutrition Facts (Per Serving)
It is important to consider this information as approximate and not to use it as definitive health advice.
Allergy Information
Please check ingredients for potential allergens and consult a health professional if in doubt.