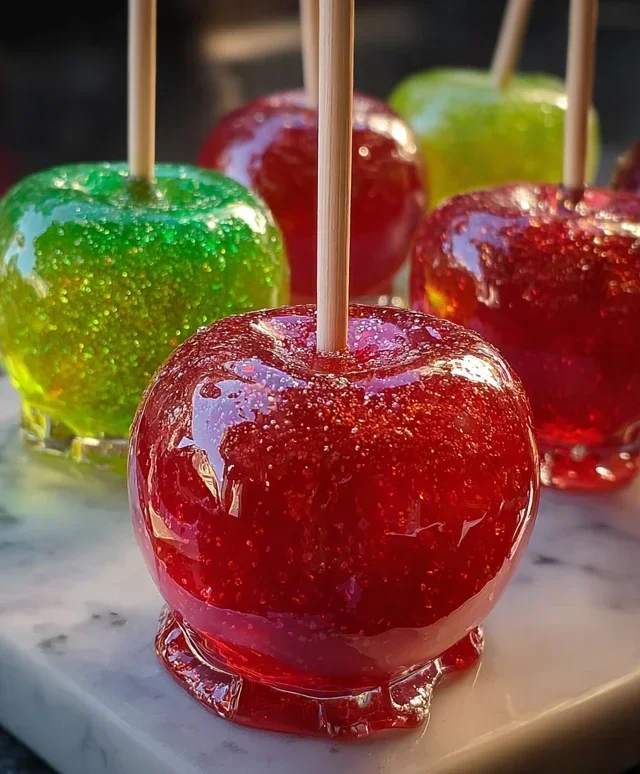
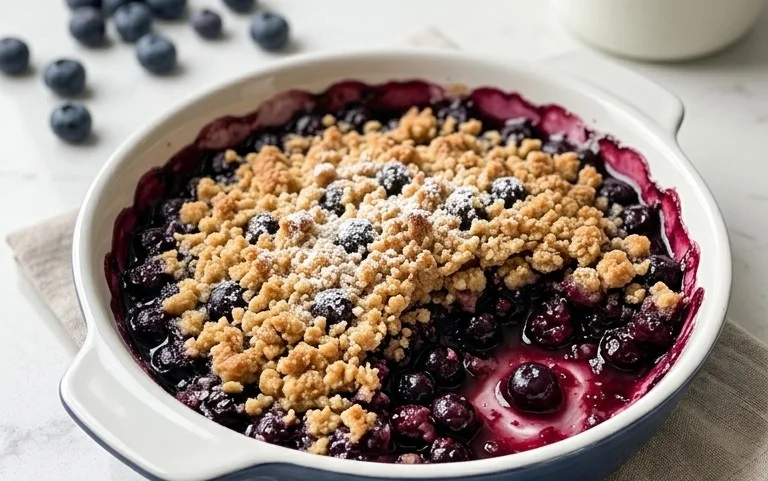
Stunning Spring Desserts- Awe Your Guests
Stunning Spring Desserts to Awe Your Guests! As the days grow longer and the world bursts into vibrant color, our cravings shift from heavy, comforting treats to lighter, brighter flavors. There’s something truly magical about ushering in spring with desserts that not only taste divine but also look as beautiful as the season itself. We all love to impress our friends and family, and what better way to do that than with a show-stopping dessert that captures the essence of spring? These recipes are designed to be not just delicious, but also visually spectacular, incorporating seasonal fruits, delicate floral notes, and a certain je ne sais quoi that will leave everyone asking for the recipe. Get ready to elevate your hosting game and create truly memorable moments with these stunning spring desserts.
Why We Adore These Springtime Sweet Treats
A Symphony of Flavors and Freshness
People flock to spring desserts because they embody renewal and joy. Think of the burst of sunshine from a lemon tart or the delicate perfume of elderflower. What makes these particular stunning spring desserts to awe your guests so special is their ability to transport you with every bite. We’ve carefully curated recipes that are approachable for home bakers but deliver restaurant-quality results, ensuring your gatherings are filled with delighted gasps and contented sighs. Prepare to be the star of your next spring soirée!
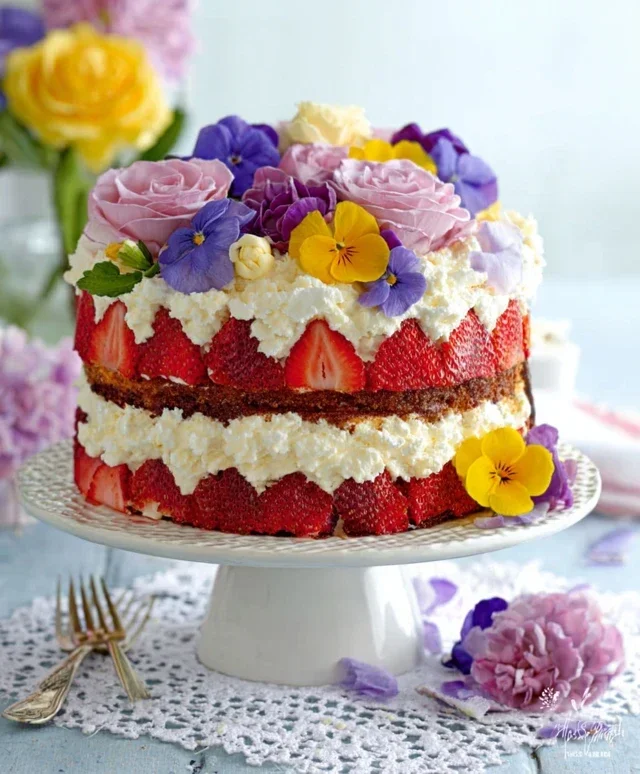
Stunning Spring Desserts to Awe Your Guests!
Spring has sprung, and with it comes a renewed sense of vibrancy and freshness. What better way to celebrate the season than by whipping up some truly show-stopping desserts? Forget the heavy, comforting bakes of winter; spring calls for lighter, brighter flavors, bursting with the essence of fresh fruits and delicate floral notes. I’ve gathered a few of my favorite stunning spring dessert recipes that are guaranteed to impress your guests and bring a touch of sunshine to any gathering. From elegant tarts to refreshing mousses, these creations are as delightful to look at as they are to eat. Let’s get baking!
Lemon Raspberry Tartlets with Meringue Kisses
These individual tartlets are the epitome of spring elegance. The bright, zesty lemon curd is perfectly complemented by the burst of fresh raspberries, all nestled in a crisp, buttery pastry shell. Crowned with delicate meringue kisses, they are almost too beautiful to eat!
Ingredients:
Preparing the Tartlet Shells
1. In a medium bowl, combine the flour and ¼ cup granulated sugar. Cut in the cold, cubed butter using a pastry blender or your fingertips until the mixture resembles coarse crum extractbs. This cold butter is key to achieving a flaky crust!
2. In a small bowl, whisk together the egg yolk and 2 tablespoons of ice water. Gradually add this to the flour mixture, mixing until the dough just comes together. If it seems too dry, add another tablespoon of ice water. Be careful not to overmix, as this can result in a tough pastry.
3. Turn the dough out onto a lightly floured surface and gather it into a disc. Wrap tightly in plastic wrap and refrigerate for at least 30 minutes. This resting period allows the gluten to relax, making the dough easier to roll and preventing shrinkage during baking.
4. Preheat your oven to 375°F (190°C). On a lightly floured surface, roll out the chilled dough to about ⅛-inch thickness. Cut out circles large enough to fit into your tartlet molds or muffin tin cups, pressing them gently into the bottoms and up the sides. Trim any excess dough. Prick the bottom of each tartlet shell with a fork a few times; this helps to prevent the pastry from puffing up excessively during baking.
5. Line each tartlet shell with parchment paper and fill with pie weights, dried beans, or rice. This technique, called blind baking, ensures the crust cooks through and remains crisp. Bake for 15 minutes, then carefully remove the parchment paper and weights. Continue baking for another 5-7 minutes, or until the edges are golden brown. Let the tartlet shells cool completely on a wire rack before filling.
Crafting the Luscious Lemon Curd
1. While the tartlet shells are cooling, let’s make the vibrant lemon curd. In a medium saucepan, whisk together 1 cup granulated sugar, lemon juice, and 4 egg yolks. Cook over medium-low heat, stirring constantly, until the mixture thickens enough to coat the back of a spoon. Do not let it boil, or the eggs will scramble! A double boiler can be helpful here for gentle, even cooking.
2. Remove the saucepan from the heat and whisk in the softened butter, one tablespoon at a time, until fully incorporated and the curd is smooth and glossy. Stir in the lemon zest for an extra punch of citrus aroma and flavor.
3. Pour the lemon curd into a clean bowl, cover the surface directly with plastic wrap to prevent a skin from forming, and refrigerate until well chilled, at least 2 hours. This allows the flavors to meld and the curd to set properly.
Assembling and Adorning Your Tartlets
1. Once the tartlet shells and lemon curd are completely cool, carefully spoon the chilled lemon curd into each baked tartlet shell, filling them almost to the brim.
2. Gently arrange a few fresh raspberries on top of the lemon curd in each tartlet. The vibrant red of the raspberries against the sunny yellow curd is a beautiful visual contrast.
3. For the meringue kisses: In a clean, dry bowl, beat the egg whites with an electric mixer until soft peaks form. Gradually add the ½ cup granulated sugar, one tablespoon at a time, beating until stiff, glossy peaks form. This is a crucial step; ensure all the sugar is dissolved before you reach stiff peaks by rubbing a little meringue between your fingers – it should feel smooth.
4. Spoon or pipe small meringue kisses onto a parchment-lined baking sheet. Bake in a preheated oven at 200°F (95°C) for about 1 hour, or until the meringues are dry and crisp. They should lift easily off the parchment paper. Let them cool completely.
5. Just before serving, delicately place a few cooled meringue kisses on top of each tartlet. The crisp, sweet meringue adds a delightful textural contrast and a touch of ethereal beauty to the tartlets. Serve immediately and watch your guests marvel at your springtime masterpiece!
Strawberry Rhubarb Crum extractble with Vanilla Bean Ice Cream
A classic spring combination, the tartness of rhubarb and the sweetness of strawberries are a match made in heaven. This crum extractble topping is buttery and crum extractbly, perfect for scooping up with a dollop of rich vanilla bean ice cream.
Ingredients:
Creating the Fruit Filling
1. In a large bowl, gently combine the sliced rhubarb and strawberries. In a small bowl, whisk together the ½ cup granulated sugar, cornstarch, and lemon juice. This cornstarch mixture will act as a thickener, preventing the filling from becoming too watery. Sprinkle this sugar mixture over the fruit and toss gently to coat evenly. Let it sit for about 10 minutes to allow the fruit to release some of its juices.
Making the Crum extractbly Topping
1. In a separate medium bowl, whisk together the all-purpose flour, rolled oats, packed light brown sugar, and ground cinnamon. This combination of dry ingredients forms the base of our delicious crum extractble.
2. Add the cold, cubed butter to the dry ingredients. Use a pastry blender or your fingertips to cut the butter into the flour mixture until it resembles coarse crum extractbs with some larger, pea-sized pieces of butter remaining. These larger pieces are essential for creating a wonderfully crum extractbly texture. Don’t overmix; you want pockets of butter that will melt and create crispiness.
Baking and Serving Perfection
1. Preheat your oven to 375°F (190°C). Pour the fruit filling into a 9-inch pie dish or an 8×8 inch baking dish. Spread the filling evenly.
2. Crum extractble the topping evenly over the fruit filling, ensuring good coverage.
3. Bake for 30-40 minutes, or until the topping is golden brown and the fruit filling is bubbling and thickened. You should see the juices simmering around the edges. If the topping starts to brown too quickly, you can loosely tent the dish with foil.
4. Let the crum extractble cool for at least 15-20 minutes before serving. This allows the filling to set up properly. Serve warm, with a generous scoop of your favorite vanilla bean ice cream. The contrast of the warm, spiced crum extractble with the cold, creamy ice cream is simply divine!
These stunning spring desserts are sure to be a hit. They are designed to be enjoyed, shared, and to bring a smile to everyone’s face as they celebrate the beauty and bounty of the season. Happy baking!
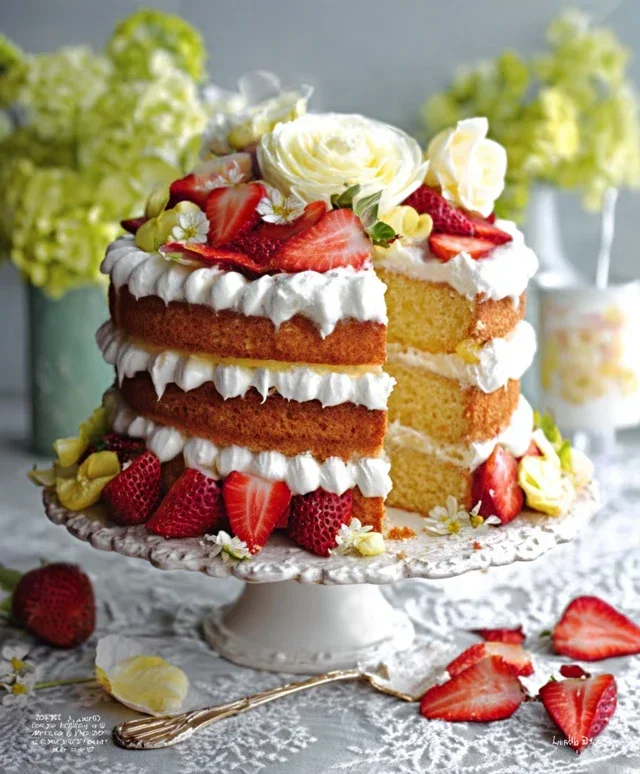
Conclusion:
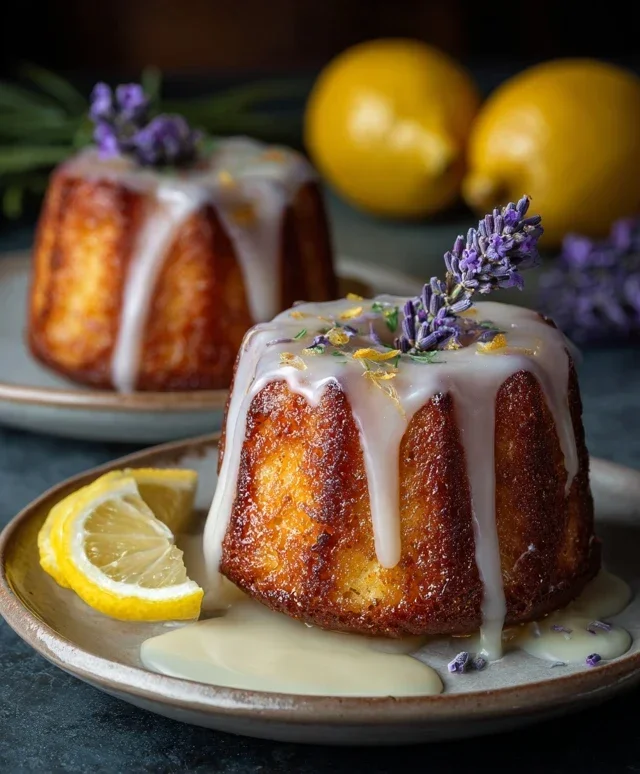
And there you have it – a collection of truly stunning spring desserts designed to impress! These recipes are not just about delicious flavors; they’re about capturing the essence of spring with vibrant colors and fresh ingredients. Imagin extracte the delighted gasps from your guests as they take their first bite of a delicate lemon-raspberry tart or a creamy lavender panna cotta. These desserts are guaranteed to elevate any spring gathering, from casual brunches to elegant dinner parties.
To make these desserts shine even brighter, consider serving them with a dollop of freshly whipped cream, a scattering of edible flowers, or a drizzle of complementary fruit coulis. Don’t be afraid to experiment with variations! Swap out berries for other seasonal fruits like rhubarb or strawberries, or infuse your creams with different floral notes like elderflower or rose. I encourage you to dive in, get creative in your kitchen, and share the joy of these beautiful spring creations with your loved ones.
Frequently Asked Questions:
Can I make these desserts ahead of time?
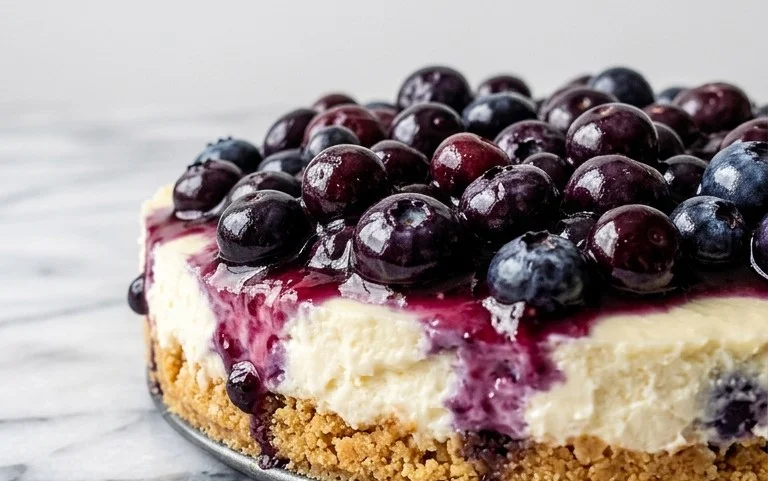
Absolutely! Many of these stunning spring desserts, like the panna cotta and cheesecakes, can be prepared a day or two in advance, making your hosting experience much smoother. Lighter options like fruit parfaits are best assembled closer to serving time to maintain their texture.
Are these recipes suitable for begin extractner bakers?
We’ve aimed for a range of difficulty levels, with some recipes being quite straightforward and others offering a slightly more advanced challenge. Don’t be intimidated! Even simpler recipes, when executed with care, will yield impressive results. Focus on following the instructions, and you’ll be delighted with your creations.
Stunning Spring Desserts to Awe Your Guests!
Delight your guests with these elegant and refreshing spring desserts, perfect for any celebration.
Ingredients
-
1 cup all-purpose flour
-
1/2 cup granulated sugar
-
1/4 teaspoon salt
-
1/2 cup unsalted butter, softened
-
1 large egg
-
1 teaspoon vanilla extract
-
1 cup fresh strawberries, hulled and sliced
-
1/4 cup fresh mint leaves, chopped
Instructions
-
Step 1
Preheat oven to 350°F (175°C). Grease and flour an 8-inch round baking pan. -
Step 2
In a large bowl, whisk together flour, sugar, and salt. -
Step 3
Add the softened butter to the dry ingredients and mix until a crumbly mixture forms. -
Step 4
Beat in the egg and vanilla extract until just combined. -
Step 5
Spread the batter evenly into the prepared baking pan. -
Step 6
Bake for 15 minutes, or until a toothpick inserted into the center comes out clean. -
Step 7
Let the cake cool in the pan for 10 minutes before inverting onto a wire rack to cool completely. -
Step 8
Top with sliced strawberries and chopped mint leaves before serving.
Important Information
Nutrition Facts (Per Serving)
It is important to consider this information as approximate and not to use it as definitive health advice.
Allergy Information
Please check ingredients for potential allergens and consult a health professional if in doubt.